Setting up Single Sign-On
Etleap supports authenticating users through a Single Sign-On (SSO) Identity Provider (IdP). Once SSO is enabled, users will not be able to authenticate with their password.
Make sure that all of your users have an account with your IdP under the same email as their Etleap account.
Configuring Single Sign-On in Etleap
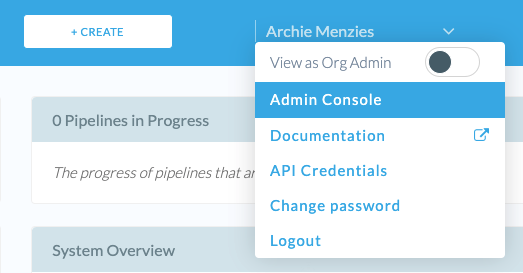
You must be an Admin to configure and enable SSO for your Organization.
Get your Organization’s ACS URL and EntityID
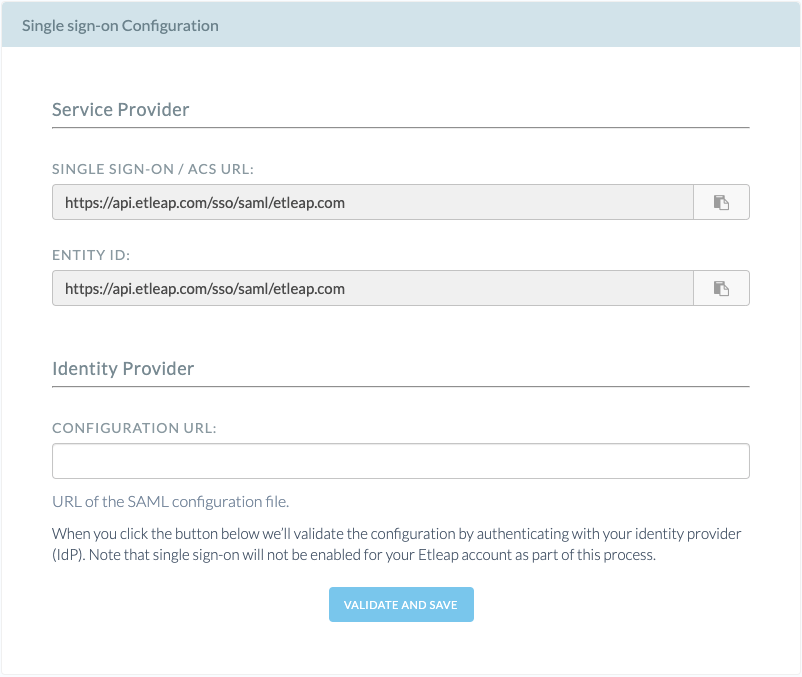
Navigate to the SSO configuration page in the Admin Console and note the ACS URL and EntityID for your Organization.
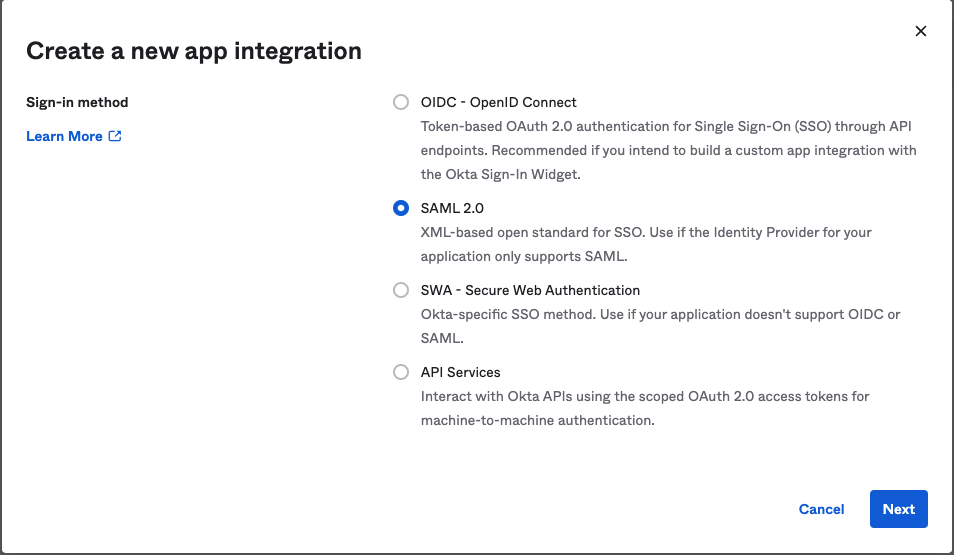
Create a SAML Integration for Etleap in your Identity Provider
Generic Instructions
-
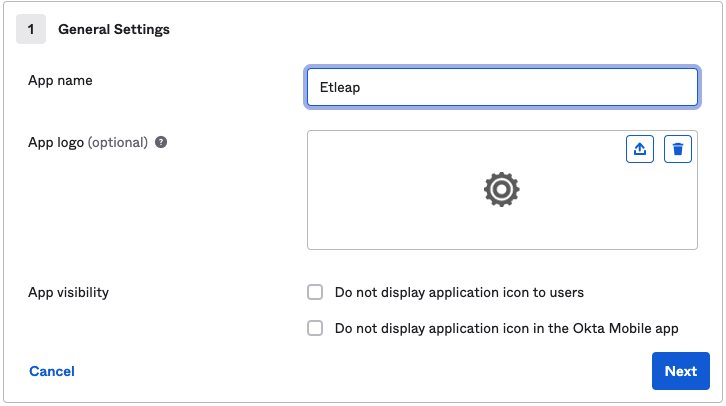
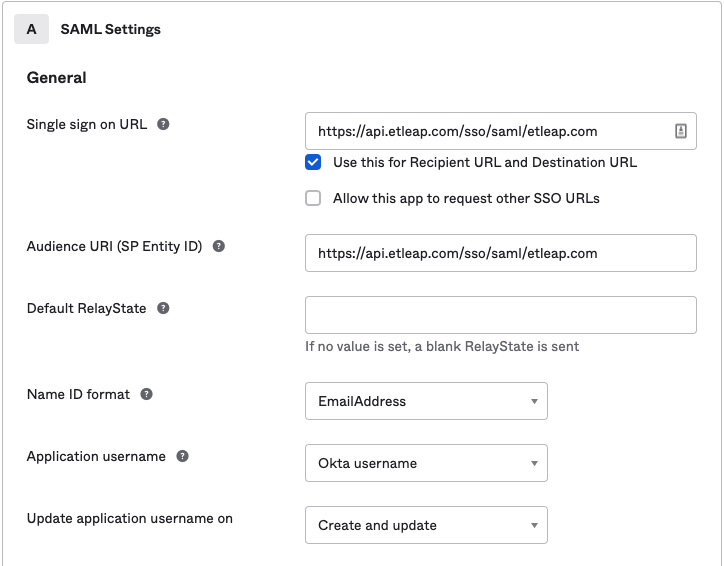
Create a new SAML 2.0 application in your Identity Provider with the following configuration:
- Single Sign-On/ACS/Consumer URL: Copy the ACS URL from Etleap’s SSO configuration page.
- Audience/EntityID: Copy the EntityID from Etleap’s the SSO configuration page.
- Recipient & Destination URLs: Should match the ACS URL.
- Name ID Format:
Email Address - Leave the Default RelayState blank / unspecified.
- The Assertion must be signed.
- The Assertion must be unencrypted.
- If you are given the option of honoring forced re-authentication, enable it.
- This is used when a user needs to perform a privileged function. The user will be asked to re-authenticate with the IdP for improved security.
-
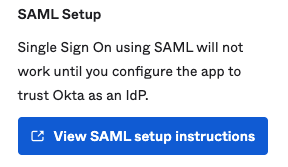
Generate the Identity Provider metadata:
- Etleap imports your SAML configuration by reading an XML file provided by the IdP. This XML file must be hosted at a publicly accessible URL. Most Identity Providers will already be hosting the metadata file for you, so you can just copy the URL provided by your IdP.
- If your IdP requires that you download the file, you will need to host it somewhere yourself. We recommend placing it at a publicly accessible S3 location.

Import the SAML configuration into Etleap
-
In the Etleap SSO Configuration page, enter the URL that points to the Identity Provider metadata.
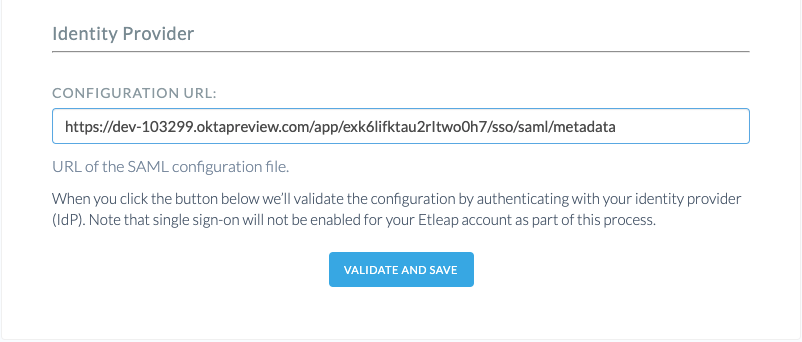
Enter the metadata URL you retrieved from your Identity Provider -
Click Validate and Save. You will redirected to your Identity Provider to validate the SAML configuration. The configuration will only be imported to Etleap if the validation is successful.
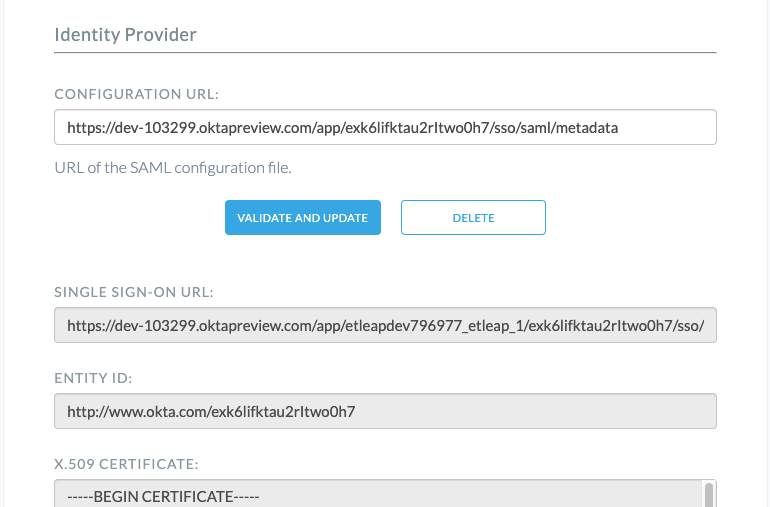
The configuration from your Identity Provider will be imported into Etleap -
Once the configuration has been imported, click Validate and Enable under Enable Single Sign-On. Once again, you will be redirected to your IdP for validation of the configuration, SSO will only be enabled if the validation succeeds.
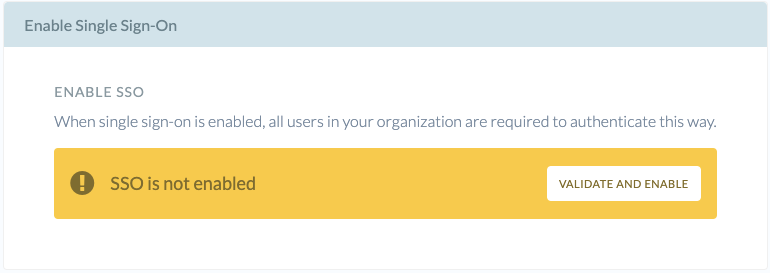
Enable Single Sign-On when ready 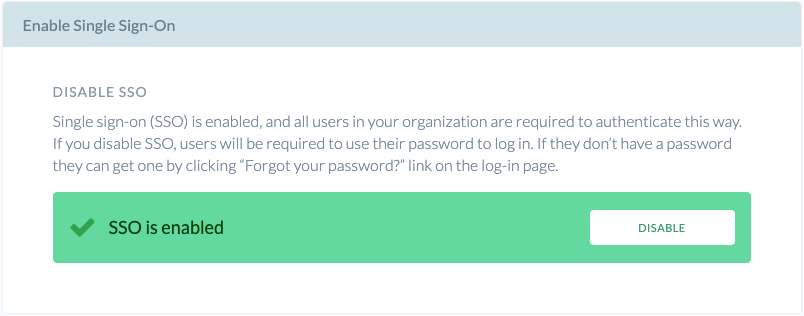
Single Sign-On is now enabled for your Organization
Logging in via SSO
Once SSO is enabled for your Organization, all users must authenticate via the configured Identity Provider and will no longer be able to use their passwords.
Etleap supports both IdP-initiated and SP-initiated login flows. This means that you can either login directly from your Identity Provider by launching the Etleap SAML integration from the Identity Providers website or browser plugin, or you can login from Etleap’s login page.
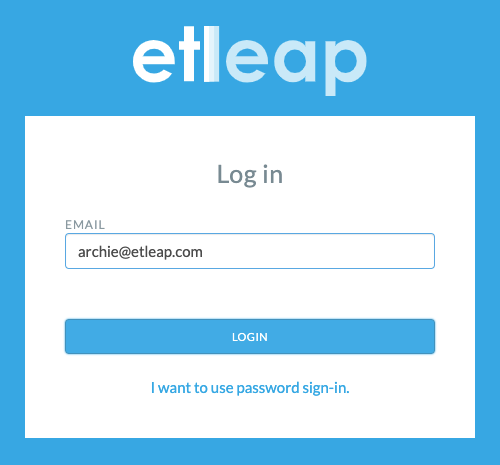
To login via SSO from Etleap’s app, click Login via your identity Provider at the bottom of the login form.
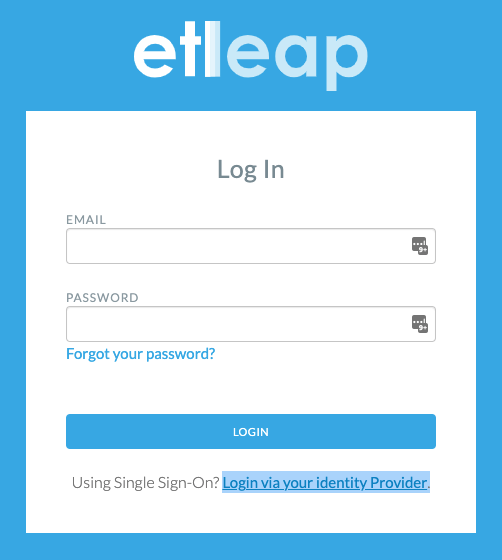
Enter your email in the SSO Login Form and click Login. You will be redirected to your Identity Provider, and forwarded back to the Etleap App.
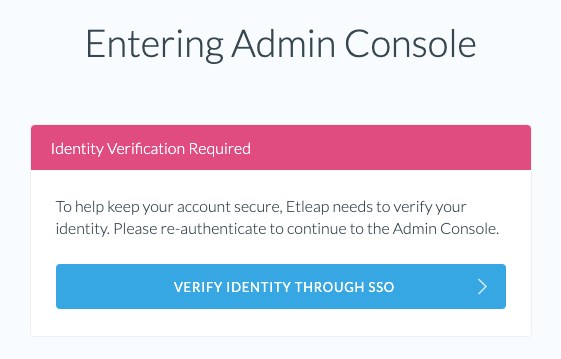
Entering Sudo Mode via SSO
Some actions in Etleap, such as generating API keys and accessing the Admin Console, are protected by Sudo Mode which requires you to reauthenticate before accessing privileged functions.
When SSO is enabled for your Organization, Sudo Mode re-authentication will be done via SSO and you will be required to log in with your Identity Provider again.