Jira
Jira connections give you access to your company’s project, issue, and bug-tracking data from Atlassian.
Source Setup
Etleap uses OAuth to authenticate with Jira. Perform the following steps within your Jira instance to enable API access.
-
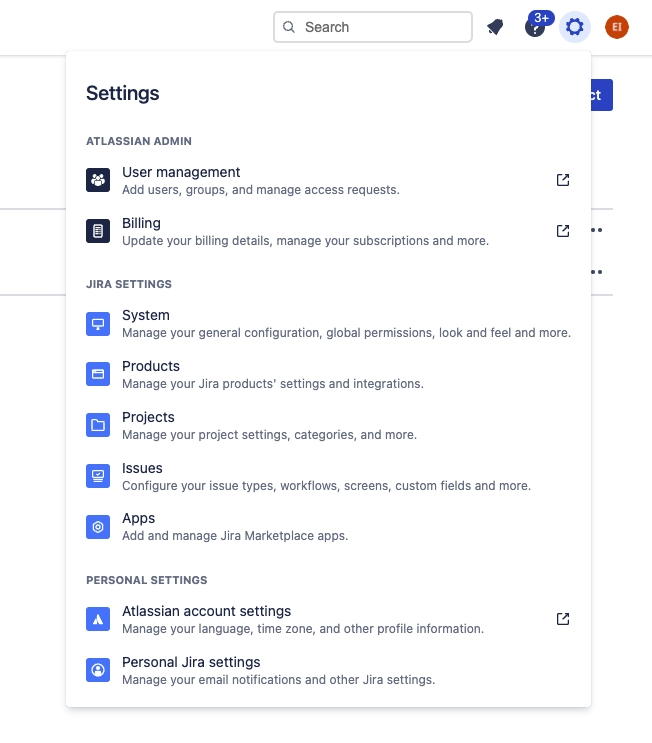
Select the settings icon at the top right of the page and click Products.
-
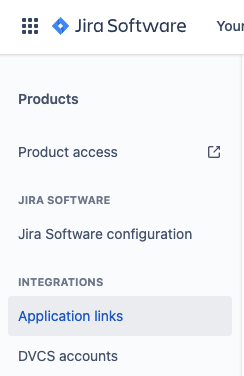
Select Application links under Integrations.
-
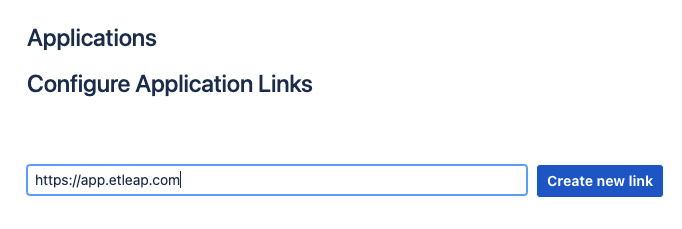
Enter Etleap’s URL in the input field and click Create new link.
- For Etleap-hosted deployments, please use
https://app.etleap.com. - For VPC deployments, please use your corresponding deployment URL.
- For Etleap-hosted deployments, please use
-
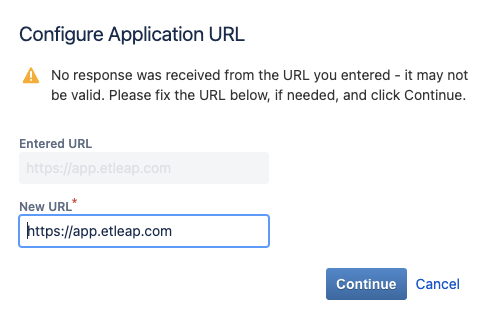
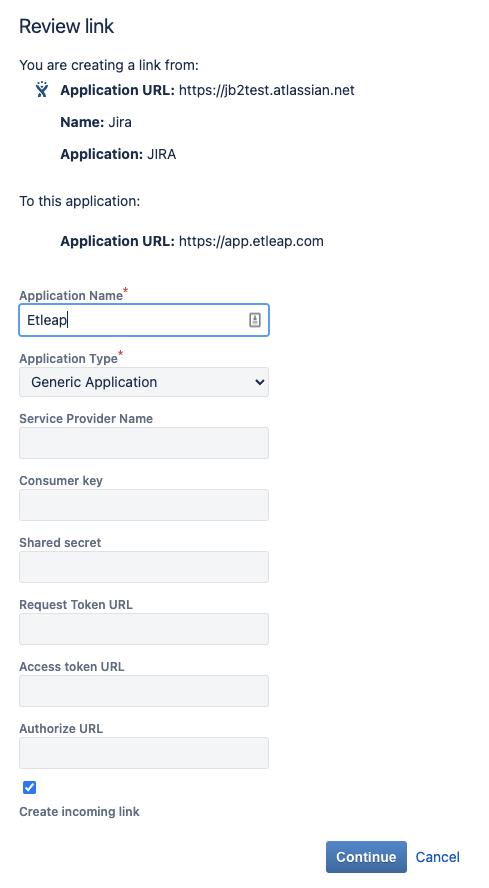
Ignore the Configuration Application URL Warning and click Continue.
-
Enter an Application Name.
-
Leave the remaining fields blank.
-
Select the Create incoming link checkbox and click Continue.
-
Enter the following information:
-
Consumer Key: Etleap
-
Consumer Name: Etleap
-
Public Key: For Hosted Etleap, copy/paste the public key listed below. For VPC deployments, contact support@etleap.com for the public key to use.
MIIBIjANBgkqhkiG9w0BAQEFAAOCAQ8AMIIBCgKCAQEAxahf1lzSN0H3H4HOSxyiqrWjm6TWZKN50xyEdIM1mdl7IMSmERNioxLR9WbPu44gmaPr0zw3ec8YrWbAMzAnKk6aOuTxFgs3kIQlH6OjmG5tAmeEY6jX7wy5qUSOveaz9jGjdSLD/w4IehPDujJNTbEFIFMJqgqlj0L3x/m/aQBtCPEk/wmzVrU+7LTeX05Rv7yeEjcZy00l+M2COgeOYKSD1H9aU7sznwVgRpq7pqFSVW0i2MtMDV9m+YnEuL9J//Bgrmw+Sp66LMHFf630XCJR51RJTOBJ/XQr10Oo5TMzXviCFBO8QsjZ6UyiDvj/kArDfNJEsQCYlbKo+ZlldQIDAQAB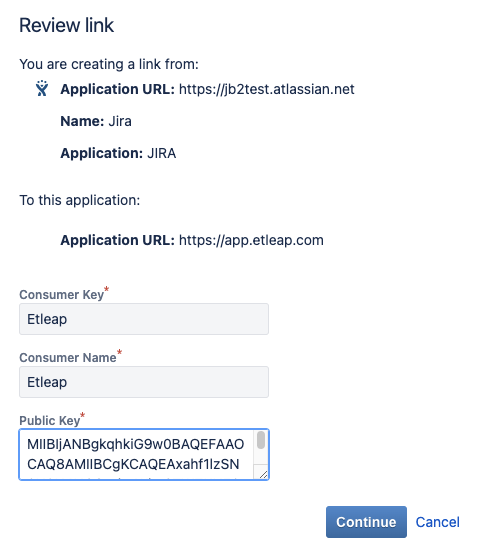
-
-
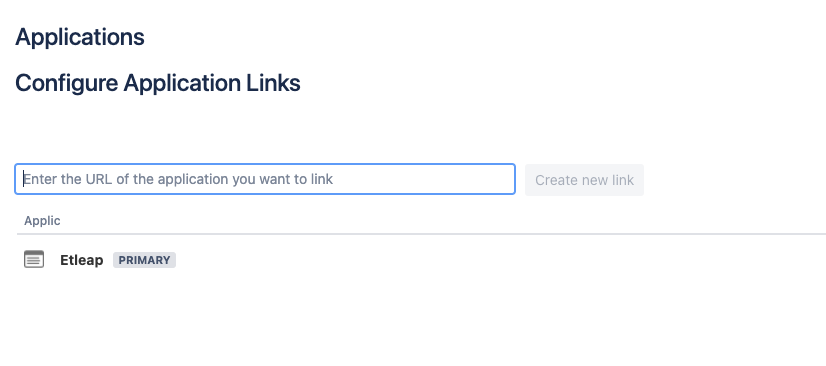
The resulting application typically looks like this in your Jira instance:
Prefer using an API? Go here and select Jira under the Body header to start creating a connection via API.
What Data is Available?
Update-Mode Deletes Support
Deletes are not supported for update-mode entities with this connector.
You can create Jira pipelines with the following entities:
| Entity | Pipeline Mode |
|---|---|
| Issues | Update |
| Issue Links | Update |
| Issue Types | Replace |
| Changelog (Issue Changelog) | Update |
| Comments (Issue Comments) | Update |
| Worklogs (Issue Worklogs) | Update |
| Fields (Issue Fields) | Replace |
| Groups | Replace |
| Group Members | Replace |
| Priorities (Issue Priorities) | Replace |
| Projects | Replace |
| Resolutions (Issue Resolutions) | Replace |
| Statuses (Workflow Statuses) | Replace |
| Status Categories (Workflow Status Categories) | Replace |
| Users | Replace |
In addition to those listed above, entities are also available for any multiple choice custom fields that have been added to Issues. Any pipelines from this type of entity will use Replace mode.
Key Considerations
Etleap detects your Issues’s custom fields using the following conditions:
- Custom fields that cannot have multiple values per issue will be added to your Issues pipeline as columns.
- Custom fields that can have multiple values per issue will appear on the filepicker as a top-level entity. A new pipeline is required to get each custom field.