Connect to a Destination
Learn how to create a warehouse destination connection from the Etleap dashboard.
Introduction
Pipelines fetch data from a Source Connection and feed into a Destination Connection. You can ingest data into five destinations with Etleap:
This guide uses Amazon Redshift as an example to detail the three major steps required to connect a warehouse destination with Etleap: allow inbound access, create a database user, and create the connection in the Etleap UI. The steps are similar for Snowflake.
Prerequisites
To set up a Destination Connection, you’re going to need:
- An existing Redshift cluster, or another support destination type: this guide uses Redshift as an example
- Privileges to create and modify your Redshift cluster permissions
Note
Perform the steps outlined here to configure your Redshift cluster to receive data pipelines.
Step 1. Create a New Destination
Once you’ve completed the prerequisites, you’re ready to create your new connection. Perform the following steps in Etleap:
-
Select Connections from the sidebar.
-
Click the blue +New Connection button.
-
Select the Redshift connection type. You can use the search box to filter.
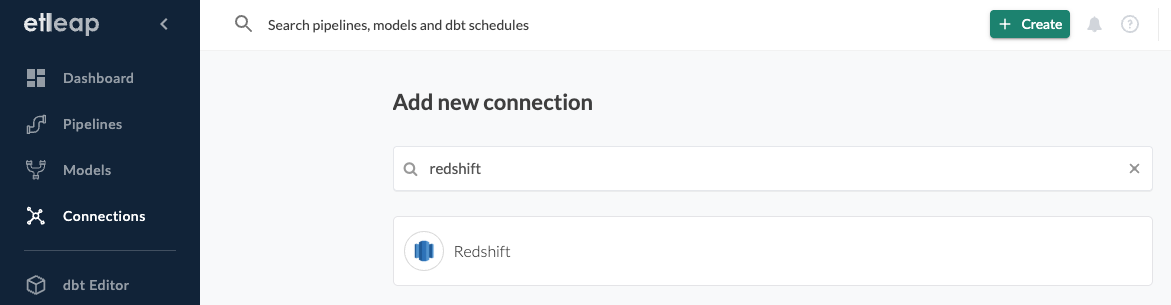
-
Enter a name for your connection and click Next.
Step 2. Provide Connection Parameters
Identify your Cluster’s Address
- Log in to AWS and go to the General information tab on your Amazon Redshift cluster’s property management page.
For Redshift Serverless, the General information tab is available under the Workgroup configuration.
-
Locate your Endpoint address.
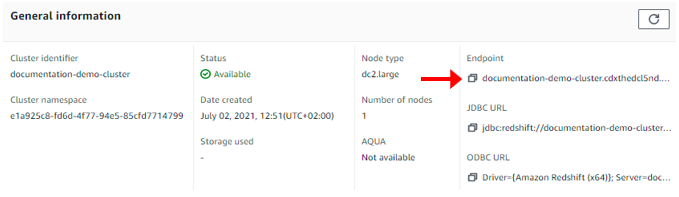
-
Copy the address, excluding the information after “.com”.
For example:
documentation-demo-cluster.cdxthedxl5ne.us-east-2.redshift.amazonaws.com:5499/devbecomes
documentation-demo-cluster.cdxthedxl5ne.us-east-2.redshift.amazonaws.com
Enter your Connection Parameters
-
Select your connection method (e.g., direct or SSH). Direct is the default option.
NoteThis page assumes that you’ve already determined your connection method and implemented the required security measures to allow inbound access.
-
Enter your cluster’s Address (e.g., hostname).
-
Accept the default Port, or change the value to the exposed port for your cluster.
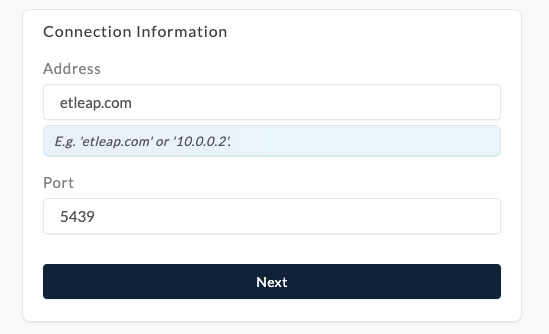
-
Paste the address into the input field and click Next.
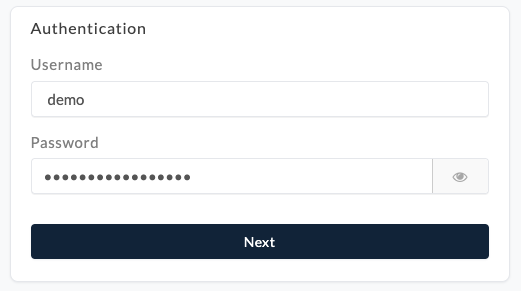
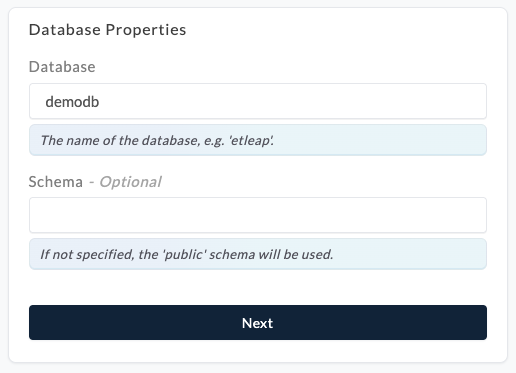
Step 3. Provide Database Properties
-
Enter your Username and Password.
-
Click Next.
-
Enter the name of your Database.
-
Enter the Schema name (optional) and click Next.
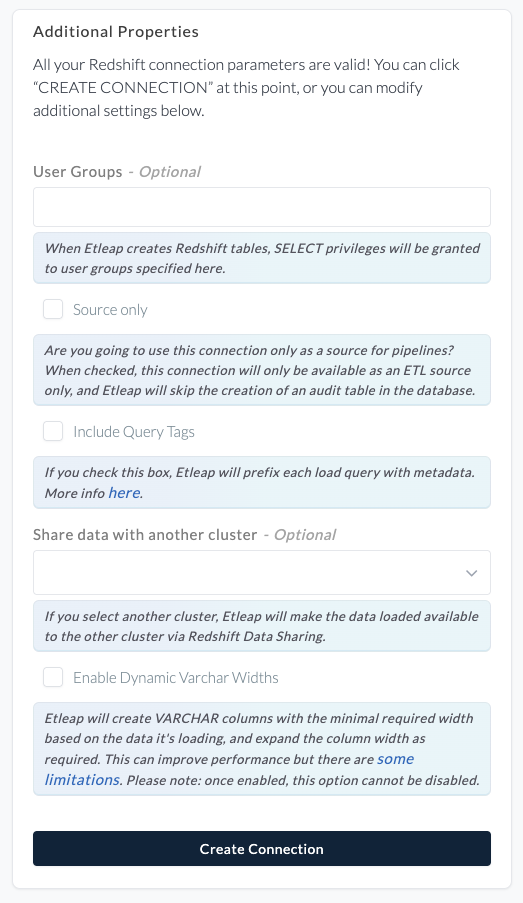
Step 4. Set Additional Properties (Optional)
You have more options to modify Redshift settings before creating the destination. These options are outlined below:
-
Enter your User Groups if you want to grant SELECT privileges to these groups when Etleap creates tables.
-
Select the Source only checkbox if you’d like to prohibit this database’s use as a destination.
-
Select the Include Query Tags checkbox to add a prefix to your load queries with metadata.
-
You can Share data with another cluster by selecting a cluster from the dropdown.
-
Select the Enable Dynamic Varchar Widths checkbox if you want VARCHAR columns created with the minimal required width based on loaded data, automatically expanding as needed. Please note: once enabled, this option cannot be disabled.
-
Click Create Connection.
NoteCongratulations! You’ve now connected Etleap to your Redshift cluster.
Complete your Setup
You’re almost there! Follow the remaining steps to complete your pipeline setup:
- Create a source connection to extract your source data.
- Once that’s complete, you can create pipelines with your new source and destination connections.